From Inception to Final Project
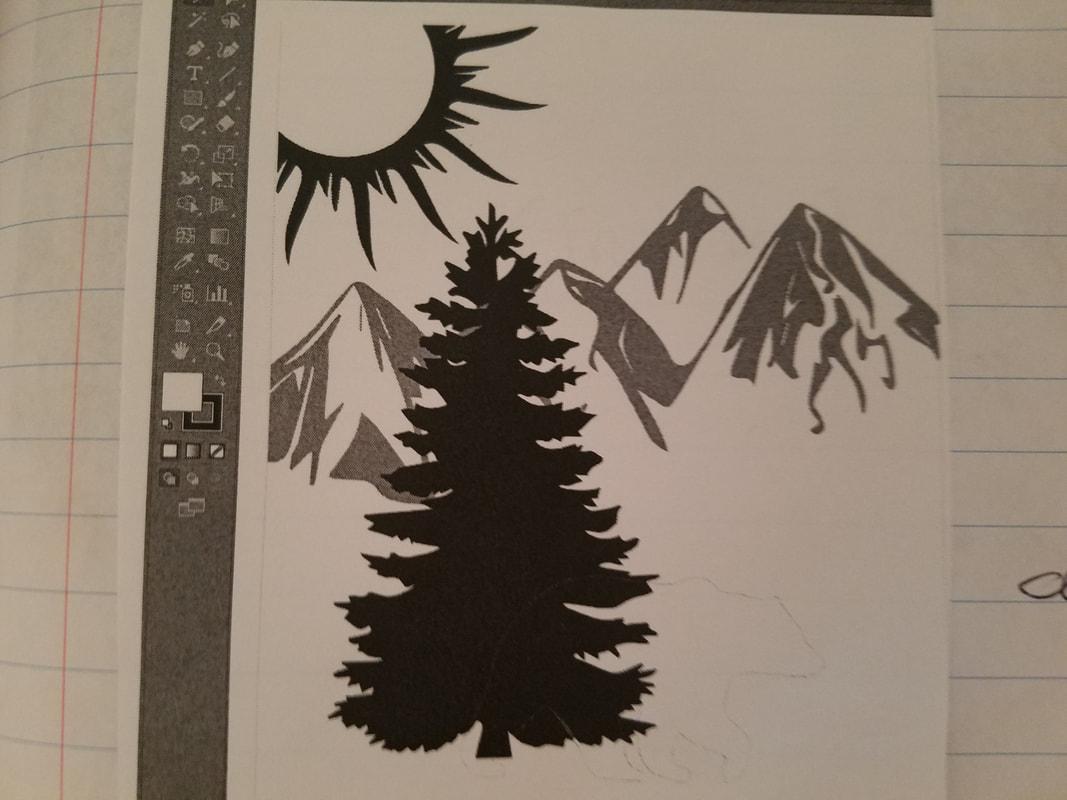
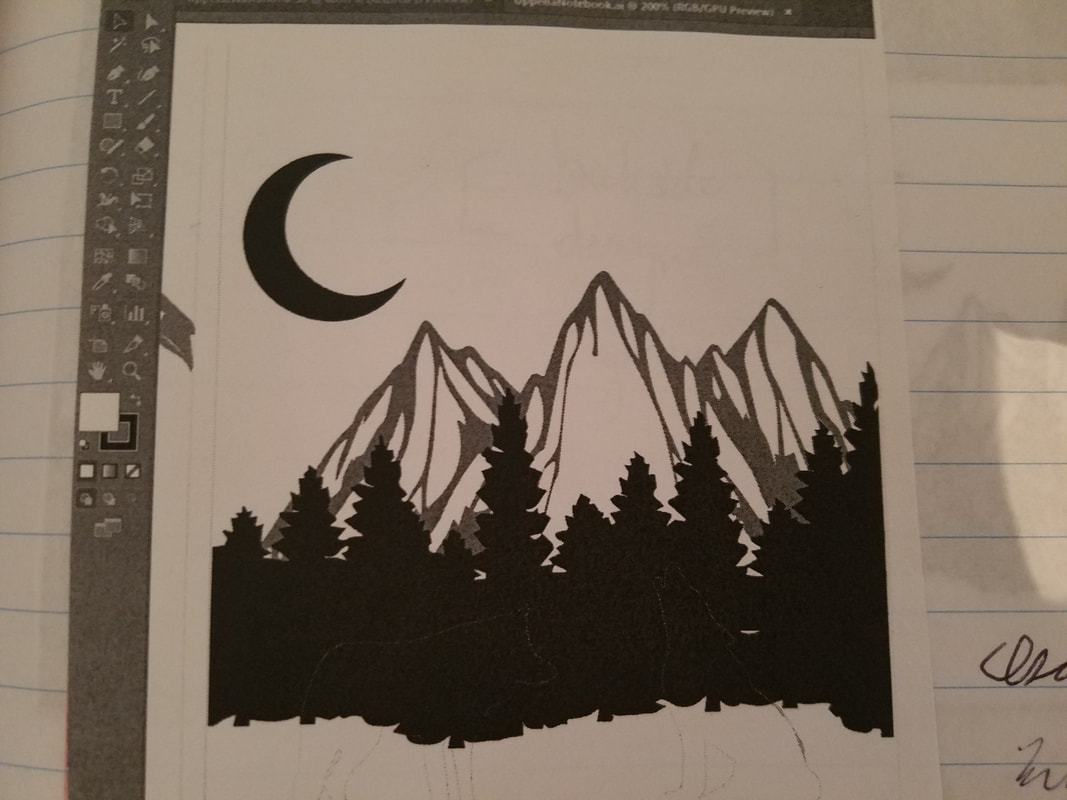
The idea for the notebook cover came from my interest in the outdoors particularly in skiing. I decided to go with a scenic depiction of a mountain the background, some trees and then an animal in the foreground. Both the front and back used this general theme. The front had a sun as if it were daytime while the back had a moon for nighttime. It was fairly simple to move on from here into what is seen in the process below.
|
|
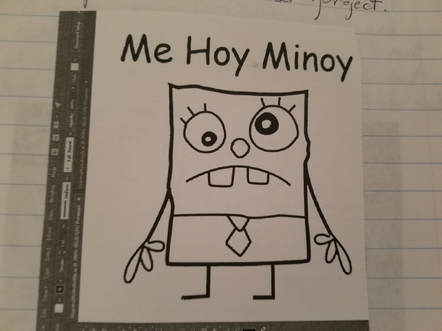
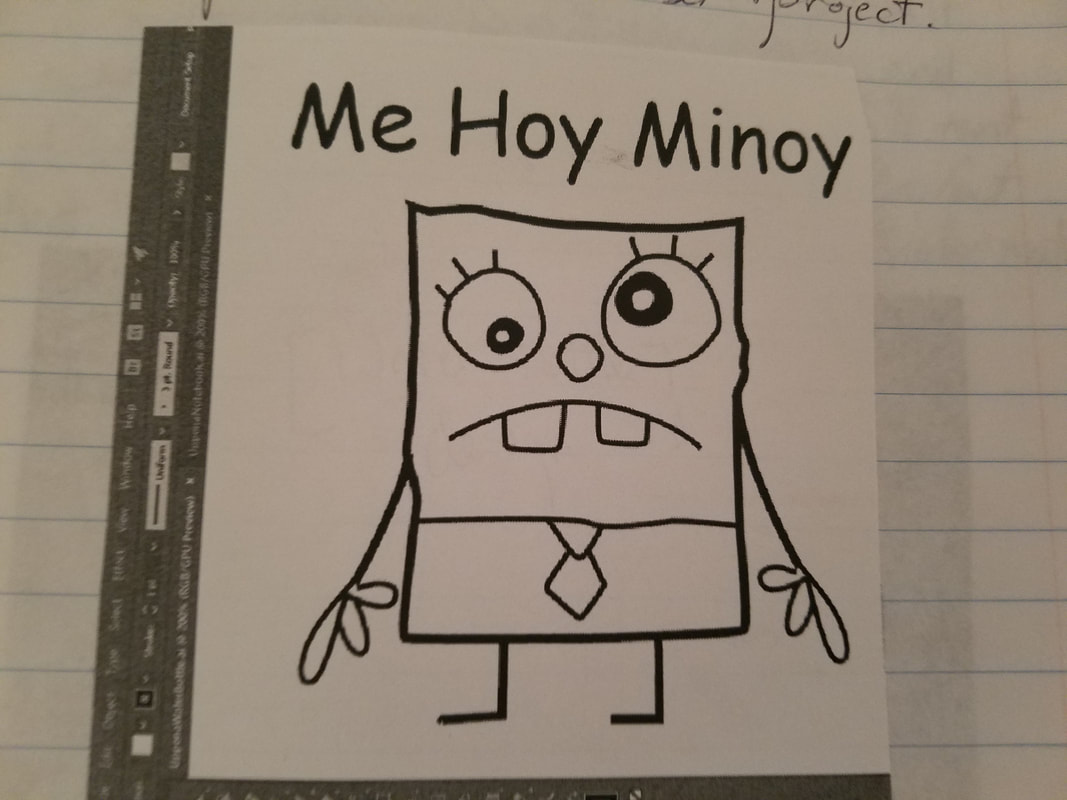
I wanted to keep the design for my water bottle simple while also relating to something I enjoyed. I decided to use a character from one of my favorite Spongebob episodes. The setup was relatively easy and after placing the text and image into the illustrator file it was basically ready to go.
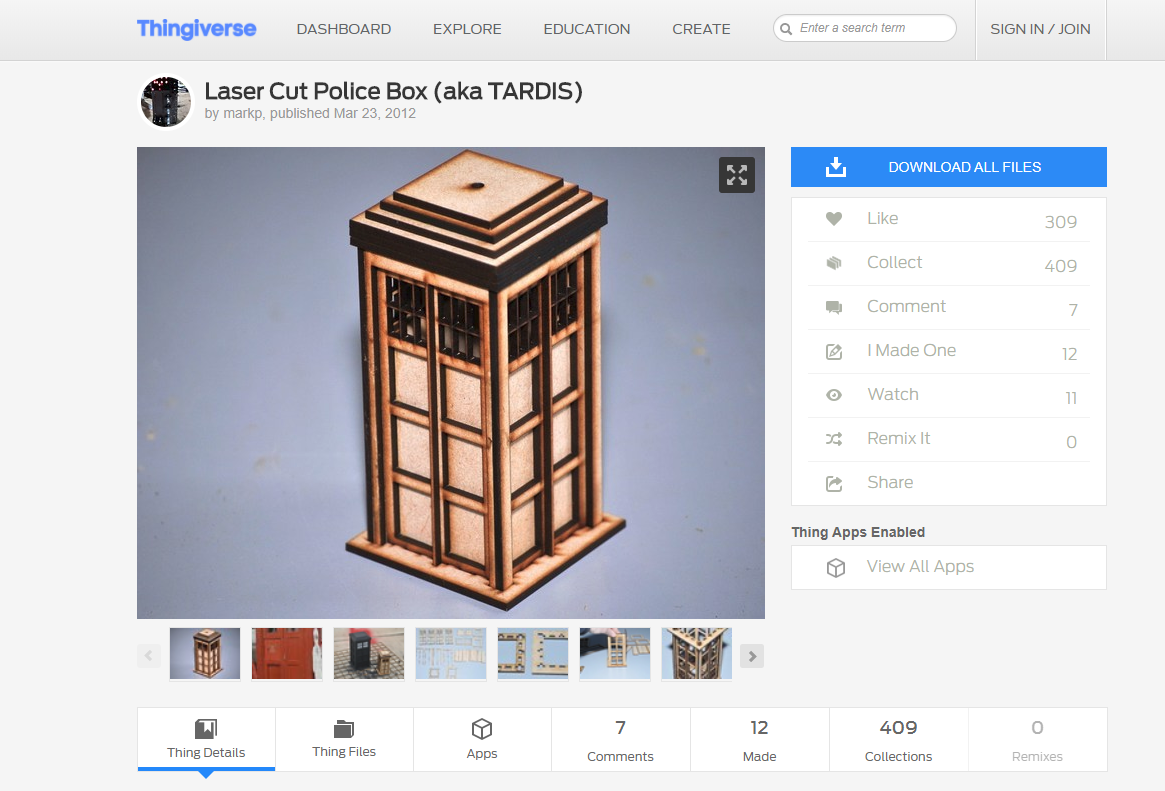
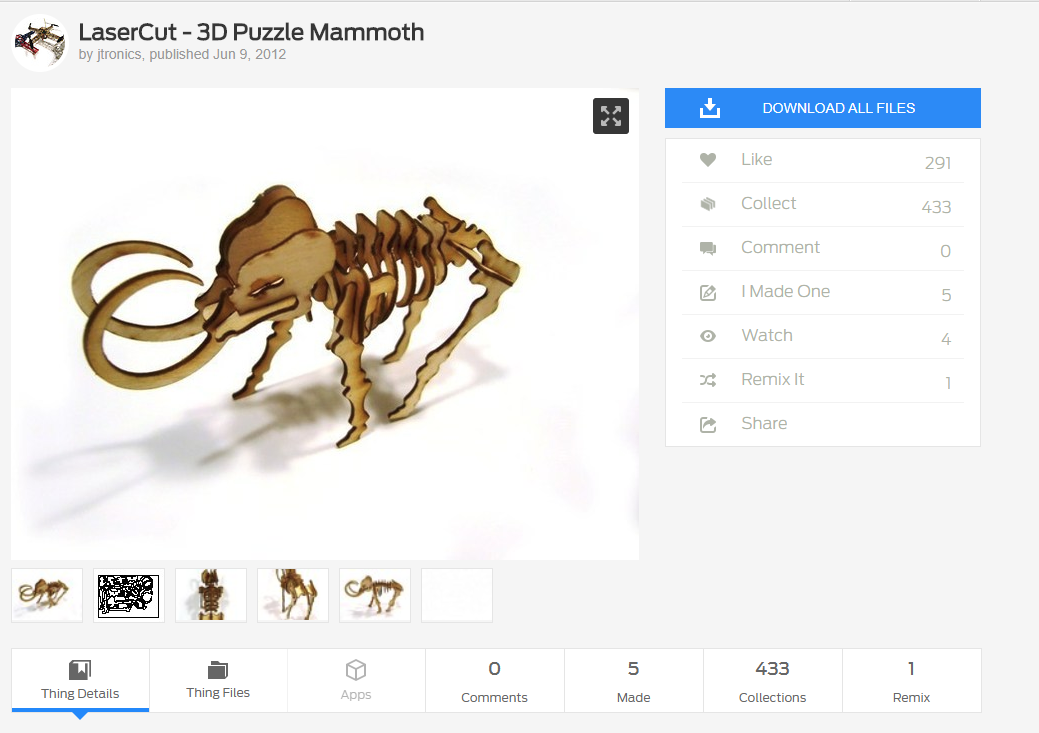
For the 3-D object cut out using the laser cutter I browsed Thingiverse to find something interesting. I initially wanted to use a TARDIS but I soon realized that the material it required was thicker than the cardboard I had available. I decided to go instead with the mammoth skeleton. The process was pretty simple as seen below.
|
|
The Process
|
|
|
|
Files Used
|
The Machine in Action
|
|
|
In Summary
I learned a lot this rotation when it comes to using the laser. Previously I did not know how to set up or use the rotational attachment and through my water bottle project I learned what settings to adjust and how to get it to engrave correctly. I also got a bit more practice with the normal laser(both the larger and smaller one). I also learned how to bind the notebook after cutting all of the pages for it down to size. Overall I think I learned the most from this unit partially due to the amount of projects that had to be done.
