From Inception to Final Product
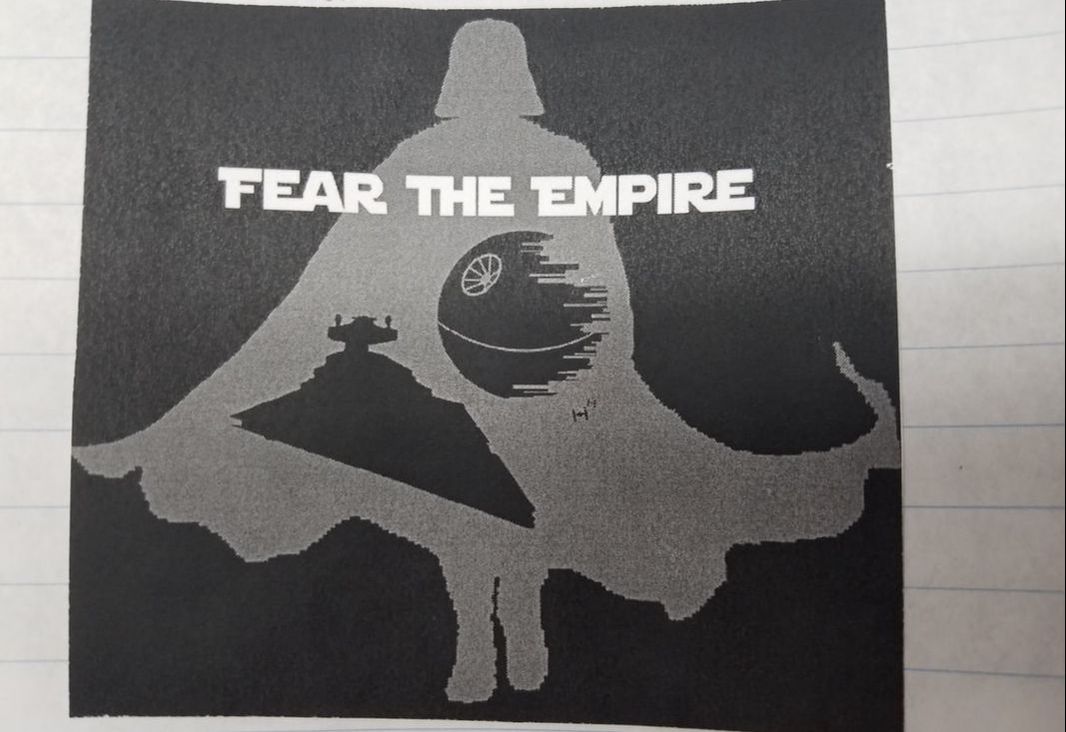
The idea began with my decision on where the decal would be placed. The most obvious thing for me would be my PC especially since it was somewhat plain in its previous state. I measured out the space I had to be 11 inches by 11 inches and knew that I would need red as one of the three colors since I had red LEDs within my computer that would match well. I'm a big fan of Star Wars and decided that it would make a good theme since there are lots of good images available online to use.

|
|
|
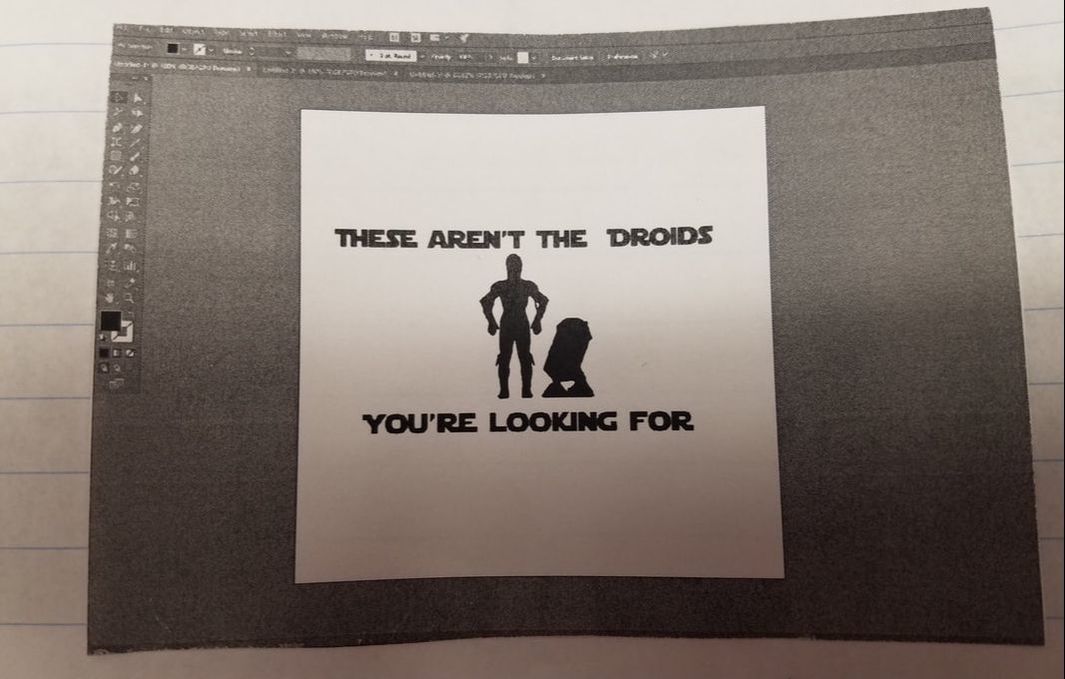
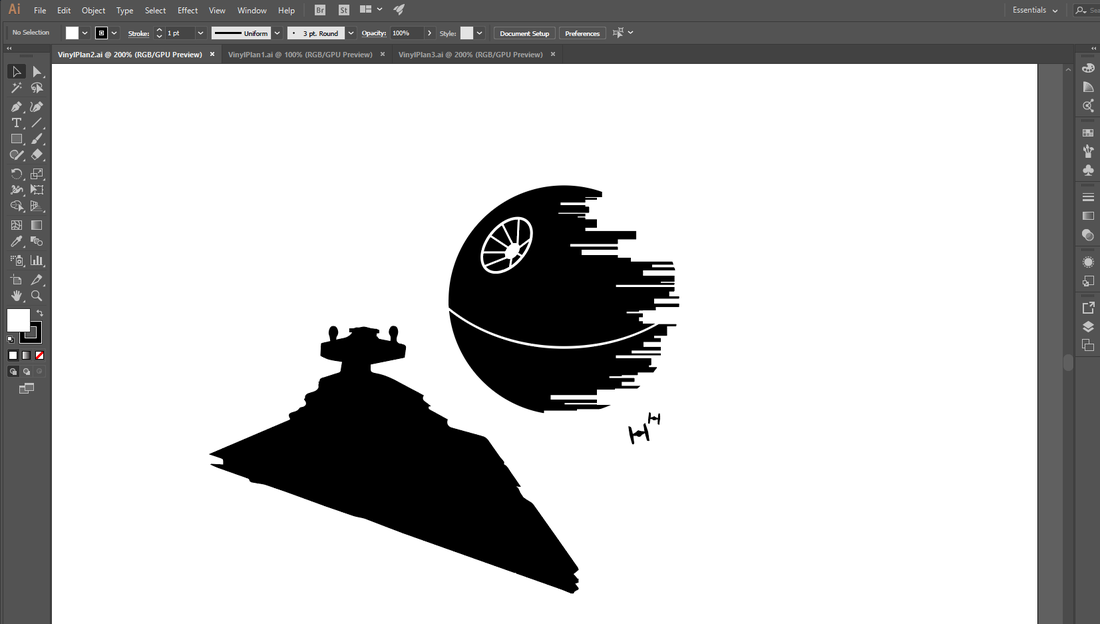
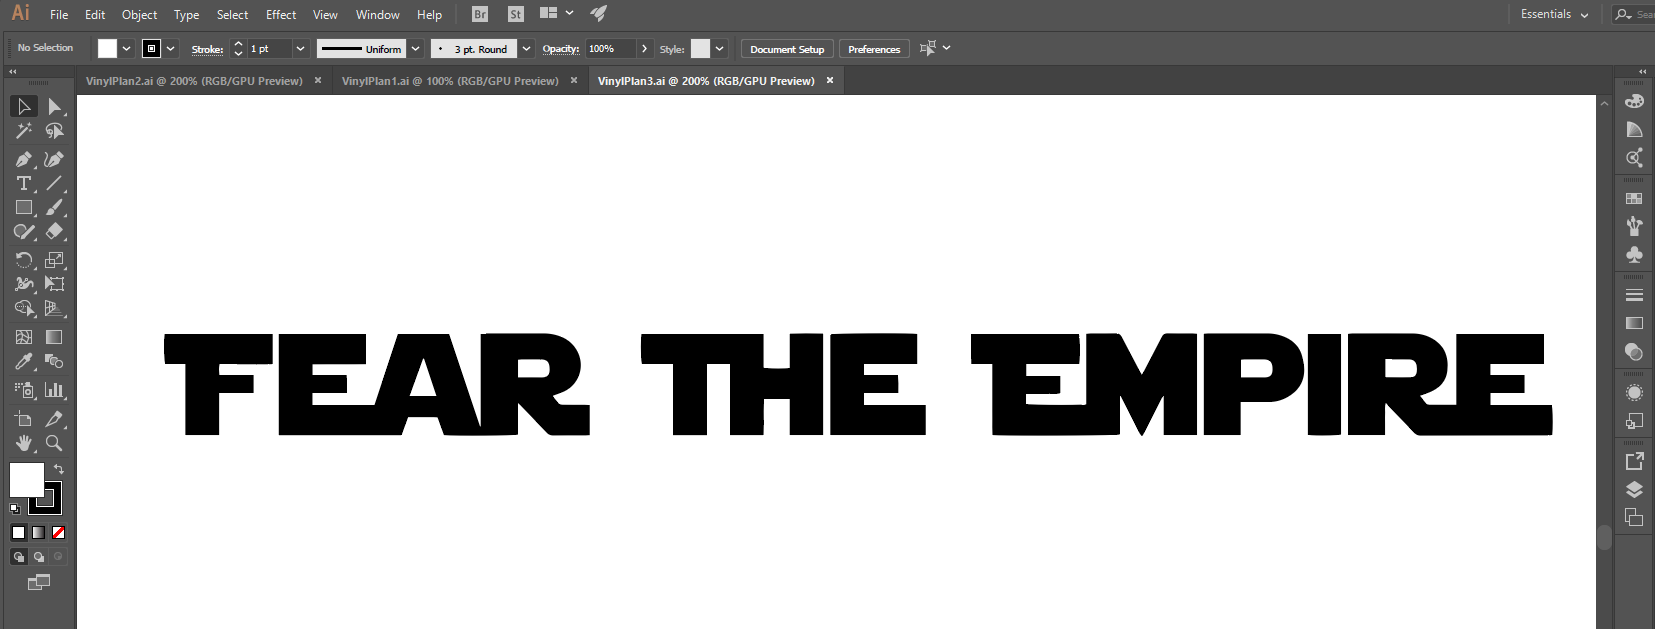
After testing out several ideas within Illustrator using images I found online I decided upon the design on the far right. I believed it would have the best ability to use 3 colors while looking cohesive in the end. I then split the different layers of colors into 3 separate Illustrator files representing the black, white and red colors. I then went through the process seen below to end up with a cool and unique decal to make my PC more interesting.
The Process
Illustrator Files Used

|
|
|
The Machine in Action
In Summary
I learned a lot about the vinyl cutter during this rotation where as I only had a very limited understanding from the name cutout we did previously. The biggest difference is in the cutting process itself rather than the application of tape and the decal onto its intended service. Through my difficulties initially with getting the death star and tie fighters to cut out properly I became much more efficient at switching out colors and getting everything ready to go. Overall I mainly just improved my general skills with using the vinyl cutter.
